How Sealing Leaks Prevents Mold Growth in Your Redington Shores Home
In our coastal climate, even a small leak can invite mold to take hold within days. Sealing entry points for moisture is the first line of defense against infestations that damage homes in Redington Shores and neighboring areas like Indian Shores or Madeira Beach. We’ll show you how to spot and stop leaks before they turn into costly remediation projects.
Why Leaks Lead to Mold in Coastal Florida Homes
Mold spores are everywhere, but they only grow when they find moisture. In Redington Shores, high humidity and frequent rain mean leaks—even minor ones—create ideal conditions for colonies to form within 24 to 48 hours.
Common leak sources include damaged roof shingles, cracked window seals, and plumbing under sinks or in walls. Once water seeps into drywall, insulation, or subflooring, mold can spread unseen until it becomes a major issue.
The Most Common Leak Hotspots in Local Homes
Roofs take a beating from salt air and storms. Missing or damaged shingles, especially near valleys or vents, let water trickle into attics—prime territory for attic mold remediation if left unchecked.
Windows and doors in older homes often have failing seals. Condensation builds up, leading to moisture damage around frames and sills, particularly in north-facing rooms that stay damp longer.
Plumbing leaks under sinks, behind toilets, or in crawl spaces are sneaky. A slow drip can saturate wood and drywall for weeks before you notice, requiring crawl space mold remediation or water damage restoration.
How to Detect Hidden Leaks Before Mold Strikes
Musty odors are a red flag. If a room smells earthy or stale, especially after rain, investigate for water intrusion. Pay attention to basements, attics, and under sinks.
Look for water stains on ceilings or walls—yellowish or brownish rings indicate past or ongoing leaks. Peeling paint or bubbling wallpaper also signal excess moisture.
Use a moisture meter to check hidden areas like behind drywall or under flooring. Readings above 15-20% in wood or drywall warrant immediate attention to prevent mold remediation.
Check your HVAC drip pans and lines monthly. Clogged drains can overflow, soaking adjacent areas and feeding mold growth in ductwork or ceilings.
Sealing Leaks: DIY Fixes vs. Professional Remediation
Minor leaks around windows or pipes can often be sealed with high-quality caulk or waterproof tape. For small roof gaps, elastomeric sealant provides a temporary fix until a full repair is possible.
Larger issues—like a compromised roof, extensive plumbing leaks, or water damage in hard-to-reach areas—require professional intervention. Our team uses thermal imaging to locate hidden moisture and industrial-grade sealants to ensure long-term protection.
| Leak Type | DIY Feasibility | When to Call a Pro |
|---|---|---|
| Window/door seals | High (caulk, weatherstripping) | If moisture persists or mold is present |
| Minor roof gaps | Moderate (sealant, temporary patch) | For large or recurring roof leaks |
| Plumbing under sinks | High (pipe tape, tighten fittings) | If leak is behind walls or under slab |
| Attic or crawl space leaks | Low | Almost always—hidden damage risks mold |
| HVAC condensation lines | Moderate (clearing clogs) | If mold is already in ductwork |
Materials That Resist Mold After Sealing
Not all sealants are equal. For high-moisture areas like bathrooms or basements, use 100% silicone caulk—it’s waterproof and mold-resistant. Avoid latex caulk in wet zones; it degrades faster.
In attics and crawl spaces, consider moisture-resistant drywall (green board) or closed-cell spray foam insulation. These materials don’t absorb water, reducing the risk of mold even if minor leaks occur.
For flooring, vinyl plank or tile with a moisture barrier underlayment outperforms carpet in leak-prone areas. In Redington Shores, where flooding can happen, elevated subflooring adds another layer of protection.
When Sealing Isn’t Enough: Signs You Need Mold Remediation
If you see visible mold—black, green, or white fuzzy patches—sealing leaks alone won’t solve the problem. Mold removal is necessary to eliminate existing colonies and prevent regrowth.
Health symptoms like allergies, respiratory issues, or skin irritation that improve when you’re away from home often indicate hidden mold. In such cases, mold testing and air quality testing can confirm the extent of contamination.
Structural damage, such as warped wood, crumbling drywall, or a sagging ceiling, suggests long-term water exposure. Here, water damage restoration and commercial mold remediation may be required for safety.
Never ignore black mold (Stachybotrys). It releases mycotoxins that can cause severe health issues. If you suspect it, evacuate the area and call professionals immediately.
Preventing Future Leaks and Mold in Redington Shores
Regular maintenance is key. Inspect your roof, gutters, and downspouts twice a year—especially before hurricane season. Ensure downspouts direct water at least 5 feet away from your foundation.
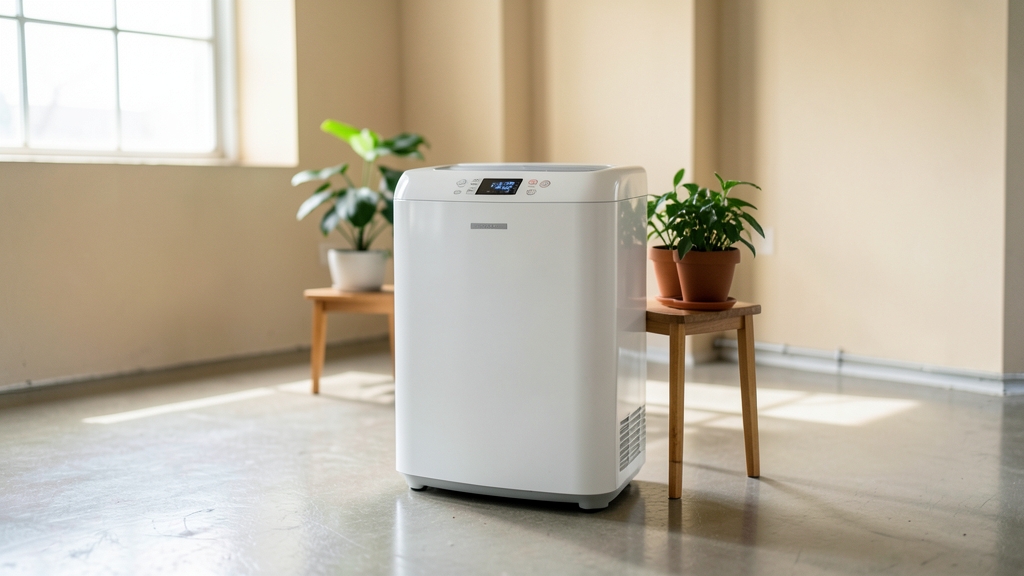
Install a whole-house dehumidifier if your home consistently feels damp. Aim to keep indoor humidity below 60%. In crawl spaces, a vapor barrier and proper ventilation prevent moisture buildup.
After storms, check for water intrusion in attics, basements, and around windows. Quick action can prevent the need for extensive mold remediation or water damage restoration later.
Seasonal Mold Prevention Checklist
- Inspect roof and gutters for damage or clogs
- Test sump pumps and French drains (if applicable)
- Seal gaps around windows, doors, and utility entries
- Check HVAC drip pans and replace filters
- Use exhaust fans in kitchens and bathrooms daily
- Monitor indoor humidity with a hygrometer
How to Seal a Leaky Window to Prevent Mold
A quick, effective fix can stop moisture in its tracks.
- 1Clean the Area
Remove old caulk or debris with a putty knife. Wipe the surface with rubbing alcohol to ensure a clean, dry bond.
- 2Choose the Right Caulk
For exterior windows, use 100% silicone caulk. For interior trim, a paintable latex caulk works if the area stays dry.
- 3Apply the Caulk
Cut the caulk tube at a 45-degree angle and apply a steady bead along the gap. Use a caulk smoothing tool or your finger (with a glove) to create a tight seal.
- 4Let It Cure
Allow 24 hours for the caulk to fully dry. Avoid opening the window or exposing it to rain during this time.
- 5Test for Leaks
Spray water on the exterior of the window with a hose. Check indoors for any signs of moisture. If dry, your seal is successful.
Frequently Asked Questions
How often should I check for leaks in my Redington Shores home?
We recommend inspecting for leaks at least twice a year—once before hurricane season and again in the fall. After major storms, do a quick walkthrough to catch any new damage early.
Can I paint over mold to seal it in?
No. Painting over mold only hides the problem; the colony will continue growing underneath. Proper mold removal and remediation are required before repainting. Always address the moisture source first.
What’s the difference between mold remediation and mold removal?
Mold removal refers to eliminating visible mold, while remediation includes removal, cleaning, and preventing future growth by addressing moisture issues. In Florida’s climate, remediation is almost always necessary for long-term solutions.
Are some areas of my home more prone to leaks than others?
Yes. Attics, crawl spaces, basements, and bathrooms are the most vulnerable due to poor ventilation, high humidity, or direct exposure to rain. Homes in North Redington Beach or Madeira Beach may also face additional coastal challenges.
How do I know if my leak has already caused mold?
Signs include musty odors, visible mold growth, water stains, or peeling paint. If you’re unsure, request a quote for mold testing and air quality testing to assess the situation.